Last Call to Save 15% on Stamps!
** And Yes! **
Save 15% on Stamps in Your New Kit, too!
Did you know that you can choose the stamps for your starter kit at 15% off and still receive the additional discount of $125 worth of discounted stamps for only $99? That’s just like a 15% add-on to your kit!
Then you’ll enjoy your very own 20% discount indefinitely, good through March, 2016 if you never place another other … and never make a sale. Your discount lasts on ‘n’ on if you do make sales and/or purchases.
One sweet deal … calorie-free, and continuous enjoyment, all with free shipping of your kit! Email with questions, ask me to call, or check it out by clicking here to start creating your custom kit. My terrific team is privileged with additional, exclusive benefits that I’m happy to share with you. >>> This 15% off sale ends today, Friday, October 23 … so “beat the clock”, is the phrase for today. 😉
~~~~~~~~~~~~~~~~~~
Whether you choose to save big on the starter kit or just save on your favorite ‘Wish List’ of stamps, I’ve come with a Thank You card for you today! Old Olive, anyone?
~
~
~
~
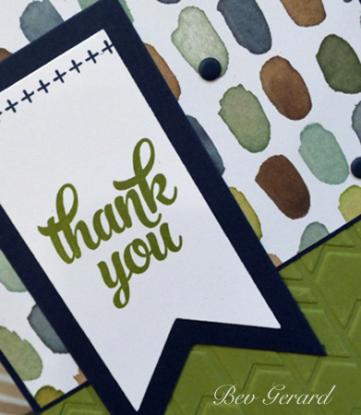
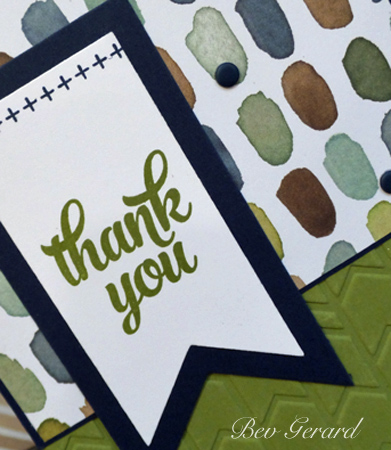
If you enjoy keeping a stash of cards ready to go when needs arise, you’ll enjoy creating a few of these … maybe in varied colors for a few choices. The sentiment and +++++ decorative line are both from the Tin of Cards stamp set shown on page 110 in the main catalog. Yes, it coordinates with the Tin of Cards project kit, but it stands alone as a very versatile stamp set for sure.
~
~
~
~
~
~
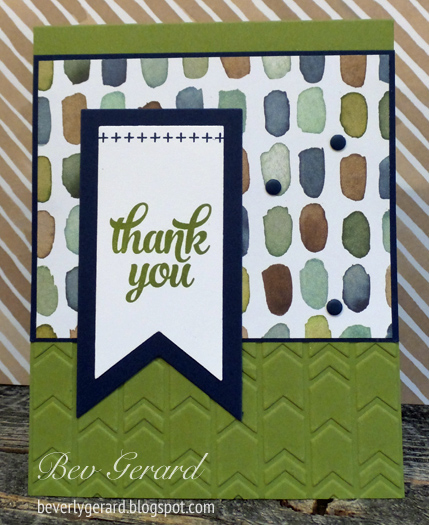
Did you think the English Garden designer series paper is just for Spring? Not! That’s the beauty of this double-sided 12″x12″ collection … it spreads much farther across the calendar. Blooms may have shriveled during the Summer, but earthy colors are still in style! I’ve used it with Old Olive and Night of Navy card stocks, with a helping of texture from the Arrows Textured Impressions embossing folder. A trio of Candy Dots finish it off for “no extra postage” mailing ease.
> > > One last topic for today! If you’d like to join us for a stampin’ date in Dallas on November 13th, please do consider joining us from 10:00 a.m. until 3:00 p.m. for fun, stamping, prizes, fellowship, and plenty of inspiration for all!
Dallas UNWIND Mini Retreat! Check it out here!
The thanks goes to “you”, my customers! I appreciate your business, I adore your presence in classes, and I’m happy to assist you in any way that I can.
Inky (((hugs))),
Bev Gerard
~
~
––


