Aug 24 2010
a “Transparent” Fright Night!

When I look over at the calendar, it’s clear that Summer is officially on the downside of it’s reign, even though the temps here don’t say that at all! Before long, Moms will be checking out ideas for costumes for their little “treaters”,  and surely the days will begin to consider moving down from the 100’s. (Ahhhhhhhhhhh, one can hope!) 😉
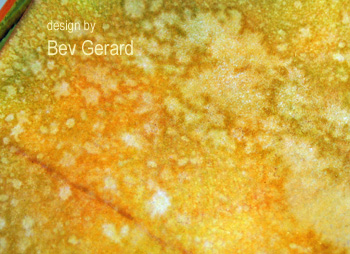
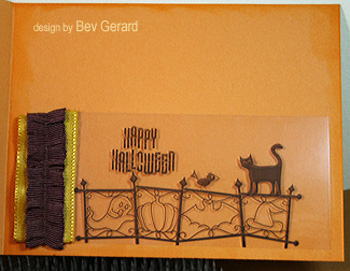
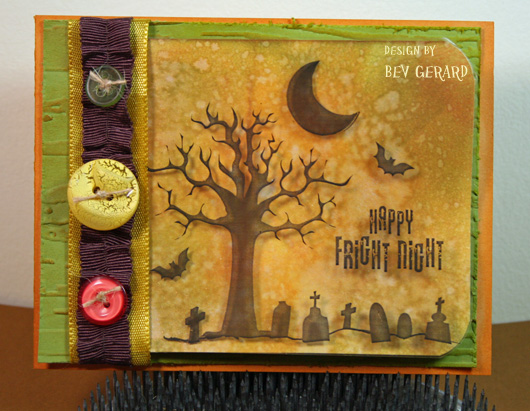
Here’s a little fun with some silhouette-style stamps to give us just a little window into the upcoming fun of Fall. I wanted something ‘different’ for the view behind the images, so I inked up white cardstock with a small variety of Distress Inks, using a foam ink applicator. There’s just something a little “therapeutic” about this technique,  and it actually seems like playtime, IYKWIM. Then I mixed up a bit of gold Perfect Pearls in a mini-mister, and gave the entire piece a light spritz of shimmer. Tex’s Tip: When spritzing with a mist, we can choose to allow it to air dry, or … I chose to turn it over and lightly iron with my craft iron. Either works just fine! If using a heat tool, expect more “curling”. 😉
~
~
~

~
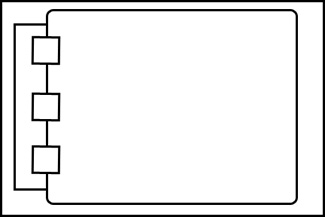
 This week, Our Craft Lounge is sponsoring the CPS (Card Positioning Systems) sketch. I hope you’ll check it out and feel free to participate in CPS 181!
Thanks for your tolerance of the “extras” … here’s my version of the CPS sketch, ready to share some frightfully fun greetings! Thanks so much for stopping by … … I appreciate your taking the time to visit!
![]()
~
Card Recipe: STAMPS: “On the Fence” (by Our Craft Lounge)
PAPERS: Tranparency, Neenah Classic White, SU More Mustard + Old Olive
INKS: Distress Inks – Crushed Olive + Peeled Paint + Rusty Hinge + Scattered Straw + Wild Honey
ACCESSORIES: Tim Holtz Alterations Folder – Woodgrain, Ranger Perfect Pearls – Perfect Gold, Ranger Mini-Misters, Inkssentials Ink Applicator, Scor-Tape, button stash, corner rounder, Cuttlebug
10 responses so far


Love the way you created the background — perfect behind the silhouettes, perfect for Halloween. I came to your blog via your Facebook page which I got to via your sister-in-law Jackie Shaw’s Facebook friends list. (Jackie’s boys attended the preschool where I work… quite a few years ago now.) I also paper craft and blog and have just started linking my posts to Facebook which is how Jackie knew about my blog. (What a crazy world, huh?!) Jessica’s blog is already in my Google Reader, but I’ll add yours, too.
Also, I scrolled down a bit and read about your trip to Tulsa with Jessica and, as a mom of an adult daughter, I can imagine how fun and special that time together must’ve been. And I appreciated the encouragement to attend a CKC some time — am thinking I may have to do that!
Oh, now, this is too darn cool! I love it!!!
I love this!! Great card and explanation!
Great card Tex! Your stamping art always was A+. Hope all is well with you.
Oh How I LOVE this… I have TONS of the clear stuff but could never get those clear cards right… SO… this is AWESOME!!!!!! I LOVE this !!!!!!
Sha-ZAM! This card is soooo cool! Love your tips too! Thanks for the super sweet comments on my blog!! YOU ROCK!
Tex, I love love love this!!!! I think I might have to CASE it for a workshop! 🙂
This is fantastic, Bev! I love the unique background and will definitely have to remember it for future reference.
I love that transparent effect Bev – this is very cool!
That background you created is just plain wonderful! Isn’t it fun to play like this to see what you can come up with? This fits the CPS sketch so nicely too, glad you played along.