Jun 18 2007
Pocket Full of Rosies
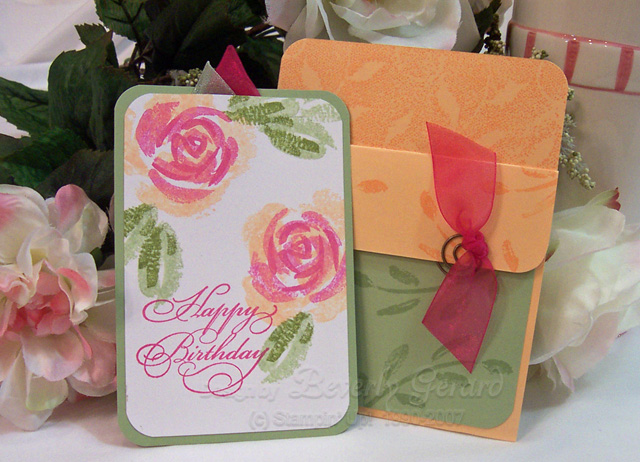
“Ring around the Rosies, a Pocket Full of Posies!” Although this is my all-time favorite color combination when using ‘Roses in Winter’, it’s also the perfect color scheme for the birthday girl later this summer. She’s a very special cousin & life-long friend whom I’ve known since diaper days, cradle roll at church, 1st grade through graduation, and even now that we are “wiser”. 😉
I’ve used the traditional pocket card for these roses. It’s easily produced by cutting your cardstock 4.25″ X 11″. Score this with your personal paper trimmer at 5.5″ and 9.5″.
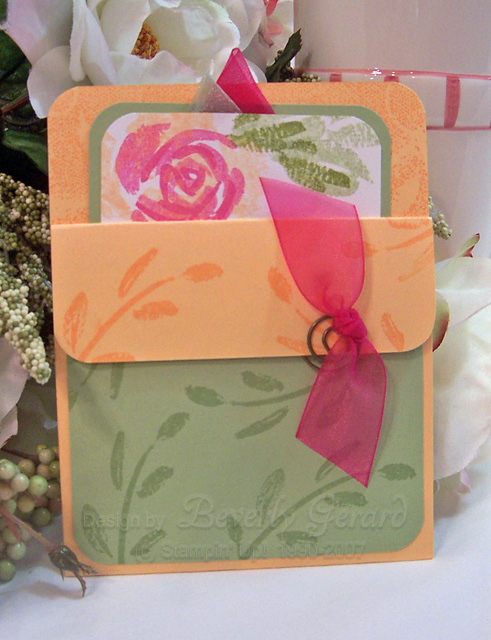
Here’s a worthwhile tip for putting the adhesive along the inside “side” edges: Be sure to use a skinny strip of adhesive along the sides, to allow your inner card to slip easily in & out of the card.
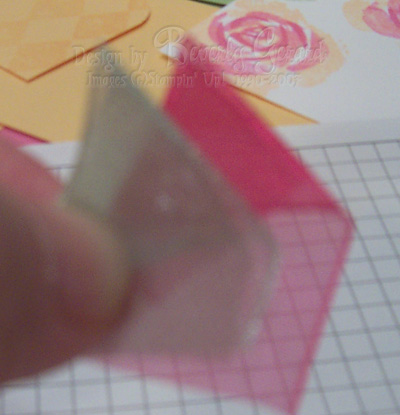
5/8″ organdy ribbon was used to create the faux rosebud & leaf at the top of the insert card. It’s very easy to create with a minimal amount of ribbon.
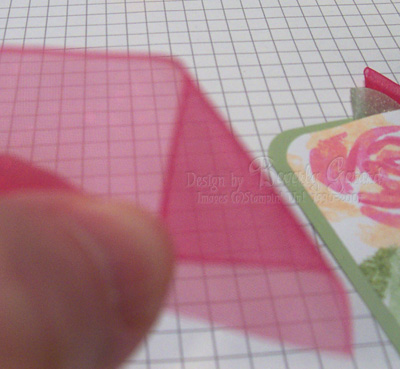
Step 1: Fold end of ribbon Rt => Left to approximately a 90 degree angle.
.
.
.
.
.
.
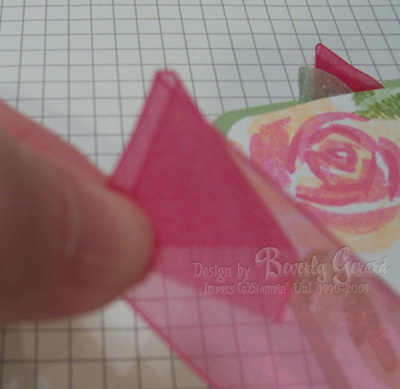
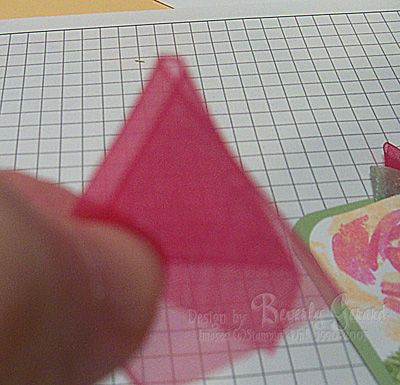
Step 2: Now fold from the ribbon remaining in your hand, from Left => Rt. Line up the outer edge of the ribbon along the folded edge of the previously folded section as shown.
.
.
.
.
.

Step 3: Once you are pleased with the ribbon placement, you’ll place a mini glue dot inside the lower edges, or a small strip of double-sided adhesive inside the lower edges to hold the faux rosebud closed. Trim off the excess ribbon along the bottom, leaving just a tiny bit extra. For placement in my card, I “sandwiched” the faux bud between layers of cardstock at the top of my insert card, using a dependable double-sided adhesive.
.
.
.
Final Step: In order to create the bud & leaf effect, a second faux bud shape was created with our retired Celery organdy. I attached the Celery and Pink ribbon buds together with a bit of adhesive, then sandwiched them between the two layers of cardstock at the top of my card insert. Be sure to use a good adhesive to close the top edges of your sandwiched layers. I’ve used my Scotch ATG adhesive. Some of the new liquid adhesives, such as Zip Dry or Scotch Tacky Adhesive can also create a good bond in this application.
.
Card Recipe: *S.U. Stamps = ‘Roses in Winter’, ‘Fine Lace’ & ‘Elegant Greetings’; *S.U. Cardstock = Apricot Appeal, Certainly Celery, Whisper White; *S.U. Classic Inks = Apricot Appeal, Certainly Celery, Old Olive, Pixie Pink; *Accessories =s.U. Hodgepodge Hardware, S.U. 5/8″ Organdy Ribbons (retired), S.U. Corner Rounder Punch.
10 responses so far


BEAUTIFUL Tex!! I love those colors too and your ribbon pulls!
What a *beauty* of a card. I’m sure she’ll ADORE it!
What a pretty project! She will go crazy for it! Great tutorial too, I’ve never tried that, thanks!
Bev, Your card is gorgeous and your instructions are fantastic!
Hi Bev!!
I didn’t know your blog was up and running….So exciting!! This card is beautiful! RIW is definitely one of my favorite stamp sets!
Congratulations!
How pretty, love the color combo, thanks for the tutorial
What a gorgeous card. It will definently brighten her birthday. I really like that color combanation too. And those roses remind me of peace roses. And what a great tutorial. Thanks for sharing your wonderful talents with us.
Absolutely Beautiful card!!!!
Your Tutorial is fantastic. I love pocket cards and the set you used. I’ll be checking back to see what other great things you have here!
This is so pretty! I love these colors together. The ribbon rosebud is the perfect addition.